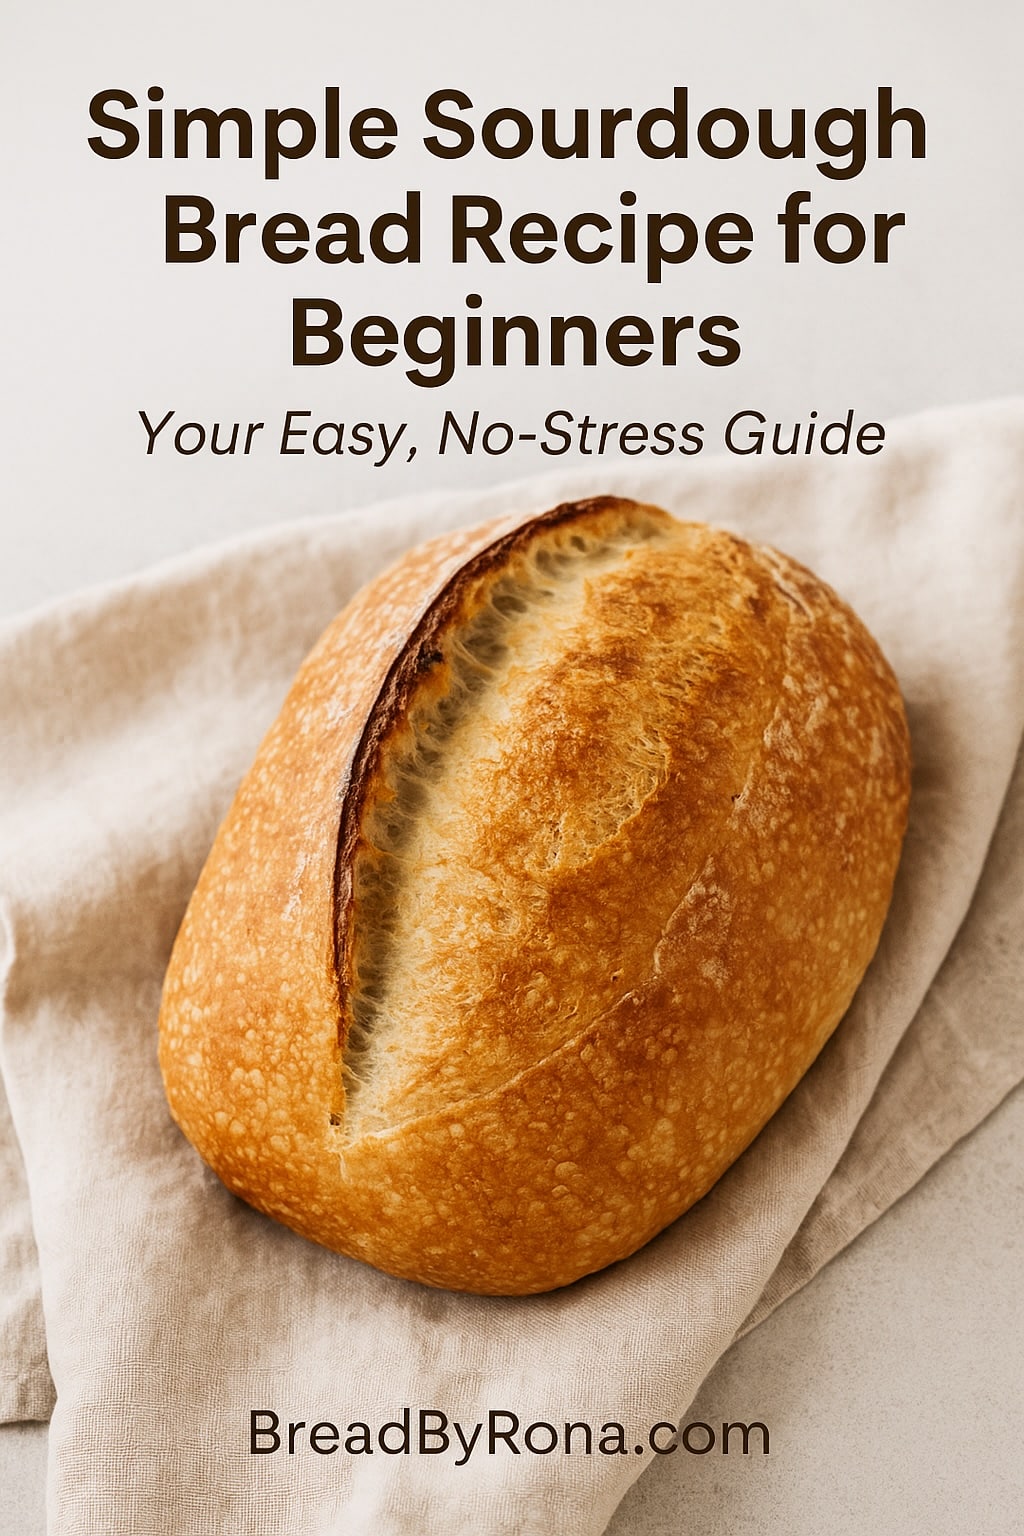
Simple Sourdough Bread Recipe for Beginners: Your Easy, No-Stress Guide
Sourdough is a perfect starting point for new bakers because it’s simple, forgiving, and honestly, kind of magical. With just a handful of pantry staples, patience, and a little encouragement, you’ll end up with bread that’s full of flavor. Plus, sourdough isn’t just tasty. It’s easier to digest and stays fresh longer than your average loaf.
This simple sourdough bread recipe is designed for busy beginners and anyone who wants results without stress or fancy tools. Let’s ditch the overwhelm—your first loaf is just a few straightforward steps away.
Table of Contents
What is Sourdough Bread and Why Bake It?
 Photo by Geraud pfeiffer
Sourdough bread is proof that sometimes the simplest things pack the biggest punch—especially in flavor and nutrition. Unlike regular bread recipes that use store-bought yeast, sourdough gets its signature rise and tang from wild yeast and friendly bacteria growing right in your own kitchen. Think of it as a science project you can eat.
A simple sourdough bread recipe doesn’t just deliver a great loaf—it lets you slow down for a second, taste real bread, and pick up a fun new skill you can pass down.
What Makes Sourdough Bread Unique
At its core, sourdough bread is:
- Made with a live, bubbly sourdough starter with just flour and water!
- Naturally leavened—no commercial yeast needed
- Fermented slowly, which works magic on texture and flavor
The starter is where the action happens. It’s full of wild yeast and lactic acid bacteria collected from the environment. These tiny helpers:
- Make your dough rise
- Give sourdough its light tang and chewy bite
- Keep additives out and bring wholesome goodness in
The Natural Fermentation Process
Here’s why sourdough gets people so obsessed (in the best way):
- Wild yeast and bacteria break down flour over time, making it easier to digest.
- The slow rise means more time for flavors to develop—a little like slow-cooking a stew.
- Sourdough fermentation creates lactic acid, which gives the bread its gentle, signature tang.
Let’s compare the two main ways bread gets its rise:
| Sourdough Starter | Commercial Yeast | |
|---|---|---|
| How it Rises | Wild yeast + bacteria | Single-strain baker’s yeast |
| Flavor | Tangy, complex | Mild, sometimes bland |
| Fermentation Time | 8–24 hours | 1–2 hours |
| Digestibility | Easier on your stomach | Not as gentle |
Why Bake Sourdough?
Here’s why it’s worth the flour on your counters and the few extra minutes it takes:
- Fuller flavor: The slow rise unlocks layers of flavor you can't buy at the store.
- Digestibility: Many people find sourdough easier on the stomach thanks to natural fermentation.
- Longer shelf life: Those organic acids keep your loaf fresh days longer—think less waste, fewer grocery runs.
- No weird additives: You control what’s in your bread. Period.
- Confidence boost: There’s something empowering about turning flour, water, and salt into a loaf that vanishes in minutes.
Ready to roll up your sleeves? Getting started with a simple sourdough bread recipe might feel like a leap—but every loaf is a chance to learn. You actually taste the wins and the lessons.
Essential Tools and Ingredients for Simple Sourdough Bread
Getting set up for your first simple sourdough bread recipe doesn’t mean filling your kitchen drawers with gadgets you’ll never use again. With just a handful of core tools and four honest ingredients, even the busiest home baker can pull off a loaf you’re proud to share. There’s a reason sourdough appeals to beginners—it’s all about using what you have and keeping things uncomplicated. Let’s break down the must-haves (and a few handy swaps) so you can get to the fun part: baking.
Must-Have Tools for Sourdough Success

You don’t need a bakery setup to start—just a few basics that make a real difference:
- Large mixing bowl: You’ll use this for mixing, stretching, and folding your dough. Any sturdy, medium-to-large bowl works.
- Digital kitchen scale: Measuring by weight gives you consistent results. No guessing, no “is this a cup?” stress.
- Dutch oven or heavy oven-safe pot with lid: These trap steam, helping your bread rise for that classic chewy crust. No Dutch oven? Try a lidded casserole dish or even place a pan of water in the oven for extra steam.
- Bench scraper or spatula: Handy for shaping the dough and cleaning up sticky bits from the counter. If you don’t have one, a wide spatula or even your hands (plus a dusting of flour) will get it done.
- Proofing basket (banneton) or colander lined with a towel: This helps your loaf hold shape for its final rise. Don’t own a banneton? Grab a colander and line it with a floured, clean kitchen towel.
- Jar or container for your sourdough starter: A wide-mouth glass jar makes feeding and checking your starter easy.
- Sharp knife or bread lame: For scoring the top before baking. If you’re just starting out, a regular kitchen knife works.
Nice-to-Have
If you feel inspired (or want to drop hints for your next birthday):
- Oven thermometer: Ovens often lie about their temperature. This keeps you honest.
- Silicone baking mat or parchment paper: For easy dough transfer and mess-free baking.
Core Ingredients for a Simple Sourdough Bread Recipe
Sourdough is all about keeping it simple—and letting time work its magic.
- Active sourdough starter: This is the heart and soul of sourdough bread. Your starter should be bubbly, active, and pass the float test.
- Bread flour: High-protein bread flour gives your loaf a chewy crumb and good rise. All-purpose unbleached flour works in a pinch—your bread will still taste homemade and delicious.
- Water: Use tap water unless it smells strongly of chlorine. If your tap water is iffy, use filtered water. Room temp water keeps fermentation on track.
- Salt: Regular table salt or fine sea salt works. Salt adds flavor and keeps your dough in check.
How to Make a Simple Sourdough Bread Recipe: Step-by-Step Guide
Ready to bake your first loaf? Here comes the fun—the hands-in-the-dough part of your simple sourdough bread recipe. I’ll walk you through every squishy, stretchy step from prepping your starter to tasting that first golden slice.
Feed and Test Your Sourdough Starter
Your starter is the real magic maker here. It gives your loaf its rise, flavor, and proud sourdough status. Keeping it happy is simple with a consistent feeding routine.
- Feed on schedule: Use equal weights of flour and water every 12–24 hours. Every day at the same time works wonders.
- Watch for the signs: A ready starter will double (or even triple) in size within 4–8 hours of feeding. Check for bubbly activity all the way through—not just on top.
- Smell check: It should smell pleasantly tangy, a little like yogurt, and slightly fruity. A sharp, offensive smell means it needs fresh flour and water.
- Texture & rise: The starter should look loose, airy, and feel stretchy when stirred.
- The (optional) float test: Scoop a teaspoon of starter into a glass of water. If it floats, you’re good to bake! But don’t worry—volume rise and pleasant aroma are better indicators for beginners.
If your starter’s not quite doubling yet, give it another couple of days of regular feeds. Patience always pays off.
Mixing, Autolyse, and Kneading (or Stretch & Fold)
Now, grab that bowl—here’s how to turn starter into sourdough:
- Mix: Combine 100g your bubbly starter with 350g of filtered water, then add 500g of flour and 10g of salt. Mix until you see no dry flour. Don’t panic if it’s a sticky mess; that’s normal!
- Autolyse (rest): Cover the bowl and let it rest for 60 minutes. This hydrates the dough and starts gluten developing for you—less work, more flavor.
- Stretch & fold:
- Keep it easy: Instead of kneading for ages, do three to four sets of stretch and folds…pick up one edge of the dough, stretch it gently, fold over, and rotate the bowl a quarter turn. Repeat with each “side.”
- Do these every 30 minutes over two hours. Each fold strengthens the dough, making it smooth and bouncy. No biceps required.
Bulk Fermentation and Shaping the Dough
This part is where the true flavor builds. Think of it as the dough’s beauty sleep.
- Bulk rise: Cover the bowl and let the dough rest at room temperature (68–75°F is ideal) until it doubles. This usually takes 4–6 hours, or a bit longer if your kitchen is chilly.
- Signs it’s done: Dough looks puffed, expanded, and jiggles slightly if you shake the bowl. There’ll be bubbles on top and at the edges and it's not so sticky.
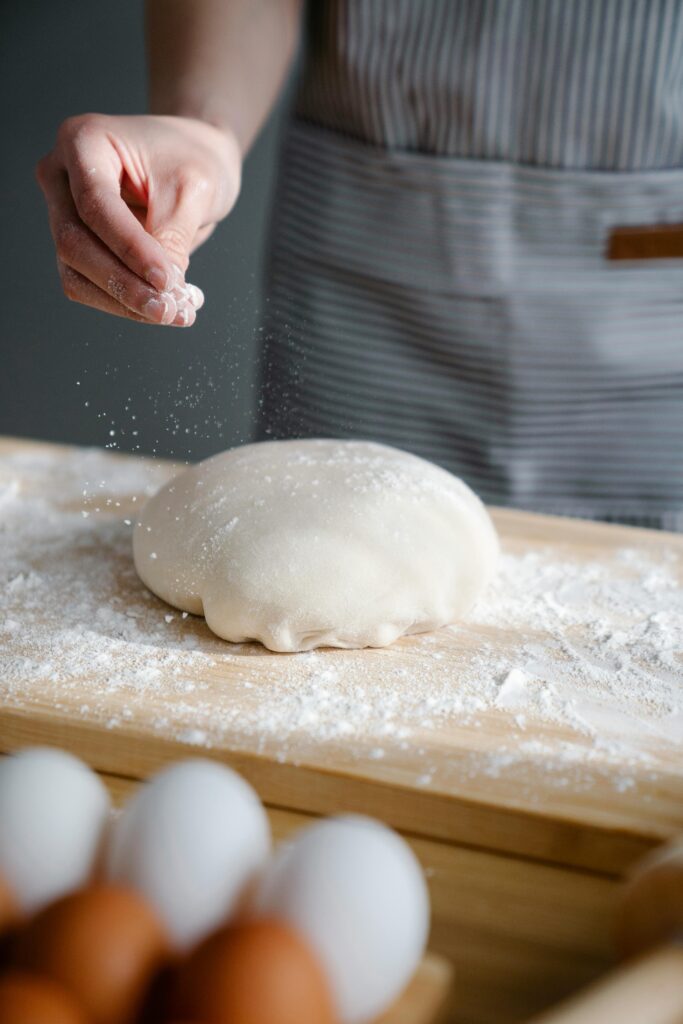
- Shape it: Dust your counter and hands with flour. Gently tip the dough out and form it into a round by folding the edges toward the center, making a tight ball (boule).
- Tighten up: Use your hands or a bench scraper to pull the dough toward you on the counter to stretch the surface and create tension. This helps it hold its shape during baking.
Don’t worry about perfection. Even a misshapen “rustic” loaf tastes amazing.
Proofing and Scoring for the Perfect Sourdough Crust
Your shaped dough needs a second, shorter rise called proofing.
- Room temp proof (quick option): Let the shaped loaf rise at room temperature in its lined bowl or proofing basket for 1–2 hours, until slightly puffy. Gently press a damp finger on the dough—if the indentation springs back slowly, it’s ready.
- Cold proof (for extra flavor and easy baking): Cover the bowl and refrigerate overnight (up to 18 hours). Cold dough is easier to score and bake, and the flavor gets even deeper.
Now, time to score:
- Scoring: Use a sharp knife or bread lame to slash the top of the loaf about ½ inch deep. A simple “X” works. This lets steam escape and gives your sourdough that beautiful artisan look.
- Pro tip: Don’t overthink it! One confident cut is all it takes.
Baking and Checking Doneness
Ready for the oven? Here’s where the magic happens.
- Preheat: Heat your oven—with your Dutch oven inside—to 450°F (230°C) for at least 30 minutes. That hot surface gives your bread instant lift.
- Bake: Turn your dough onto parchment paper (for easy transfer), lift into the Dutch oven, cover, and bake for 20 minutes. Then uncover and bake 20–25 minutes more until the crust is deep golden and crisp.
- Check for doneness:
- The loaf should sound hollow when tapped on the bottom.
- The crust should be firm all over (no soft spots).
- If you want to get fancy, the inside temperature should be about 205–210°F.
Let it cool on a rack—this sets the crumb and keeps your crust crackly. Waiting is tough, but worth it!
That’s your simple sourdough bread recipe in action—no stress, just good bread and better confidence every time.
Stay tuned for a video of this simple process.