How to Make a Sourdough Starter (and Keep It Alive)
If you've ever wondered how some bread has that irresistible tangy taste and airy texture, meet the magic behind the curtain: the sourdough starter. It's basically a tiny, bubbling ecosystem of wild yeast and friendly bacteria living its best life on your countertop. Don’t worry—it’s not as complicated (or messy) as it sounds. In fact, with just two ingredients (flour and water), some patience, and maybe a dash of trust in the process, you'll have this bread-making powerhouse ready to go. Oh, and the best part? It can stick around for years with a little TLC, making it your baking BFF for life.
What You’ll Need
Before you begin your sourdough journey, rest assured that you don’t need a fancy kitchen or a bunch of tools. In fact, starting a sourdough culture is simple. We've boiled it down to the essentials, keeping things as minimalist as that perfectly crispy crust you're about to create!
Ingredients
Let’s start with the basics: your sourdough starter needs just two things to come alive.
- Unbleached All-Purpose or Whole Wheat Flour
Stick to unbleached flour—no weird chemicals, please! Whole wheat flour is also a fantastic choice, as it has a higher amount of wild yeast. Want to mix and match? Go for it. Sourdough doesn’t mind sharing the spotlight. - Non-Chlorinated Water
Think tap water is fine? Well, maybe. But if your tap water is chlorinated, it could slow down the fermentation process. Filtered or bottled water is your starter’s best friend. The key here? Keep it pure.
Fun analogy: The flour is like the “fuel” for your starter, and water is the spark that gets the fermentation rolling. Together, they’re unstoppable!
Supplies
Simplicity is the name of the game here. There are only a few tools you need to kick off your sourdough experiment, and chances are, you’ve already got them in your kitchen.
- A Glass Jar
Go for a medium or large-sized glass jar—something sturdy that'll give your starter some room to expand (trust me, it gets bubbly). Glass is non-reactive so that it won’t interfere with the fermentation process. - A Mixing Spoon
Use a wooden or silicone spoon for stirring. Metal spoons? Not ideal. Some types of metal can react with your starter, which is a no-go for fermentation. - A Loose Cover
Loosely place the jar lid on top. This will let air in, but keep dust or curious fruit flies out. Avoid airtight lids—fermentation needs airflow! Think of it like giving your sourdough a chance to “breathe.”
Pro tip: Recycle an old mason jar! They’re the perfect size, and you probably have one collecting dust at the back of a cupboard.
Want more guidance on supplies? Download the free checklist below!

And that’s it—no fancy kits, no specialty gadgets. Your sourdough starter is meant to be alive and adaptable, just like the tools you’ll use to care for it!
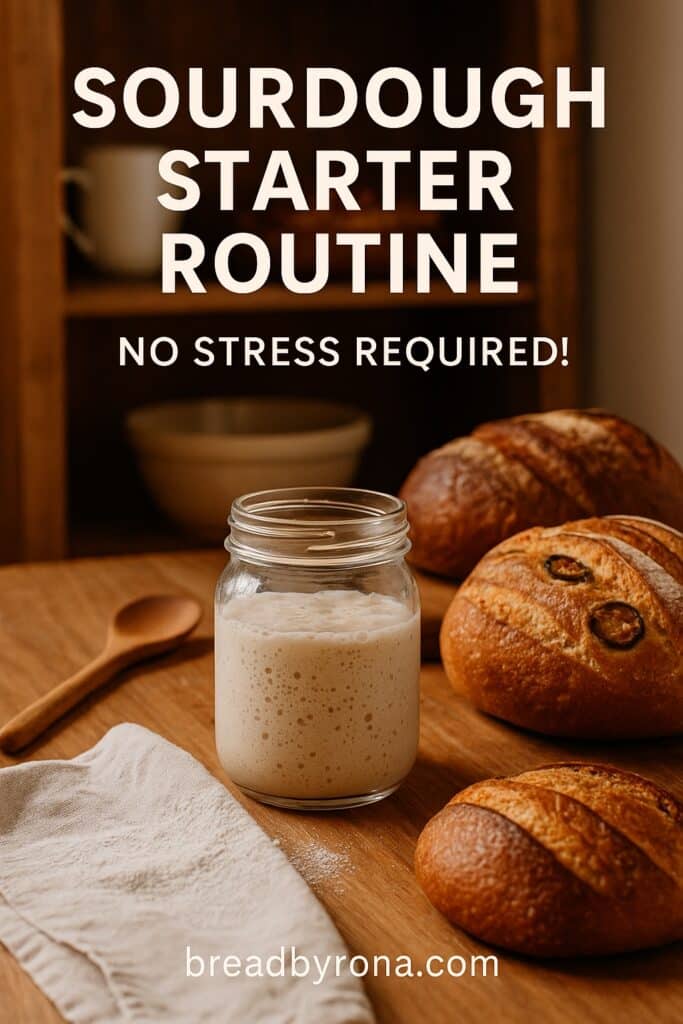
The Daily Routine: A Simple Breakdown
Starting a sourdough starter can feel a bit like adopting a low-maintenance pet—it requires regular care, but nothing too overwhelming. Let’s break it down into a routine so simple that it’ll start feeling second nature in no time. Whether you’re a seasoned baker or a complete newbie, here’s how to keep that starter thriving, day by day.
Day 1: Let’s Get Started

Day one kicks off with the simplest of tasks: mixing. Combine equal amounts of flour and water in a clean jar. Start small—30g of each is plenty for now. Stir thoroughly until you have a smooth, batter-like consistency without any lumps. You’re not baking yet, so don’t overthink it. Just mix it up!
Once stirred, loosely cover the jar and leave it out at room temperature. Somewhere warm but not too hot (around 70°F–75°F) is best. Think of this as setting the scene for a fermentation party—wild yeast and bacteria are your VIP guests, and room temp is the ideal vibe. No peeking for 24 hours!
📌 Pro Tip: Stick a piece of tape or a rubber band at the mixture's starting level. This will help you see any rise starting tomorrow.
Days 2–5: Feed and Watch
Here’s where things get a little more interactive. Each day, you’ll discard about half (yes, half) of your starter and “feed” it fresh flour and water in the same 1:1 ratio. Why discard? Because too much starter without enough food can lead to sloppy fermentation—nobody likes “hangry” yeast.
After feeding, give it another stir and set it back in its cozy spot. What are you looking for? Keep an eye (and a nose) out for changes:
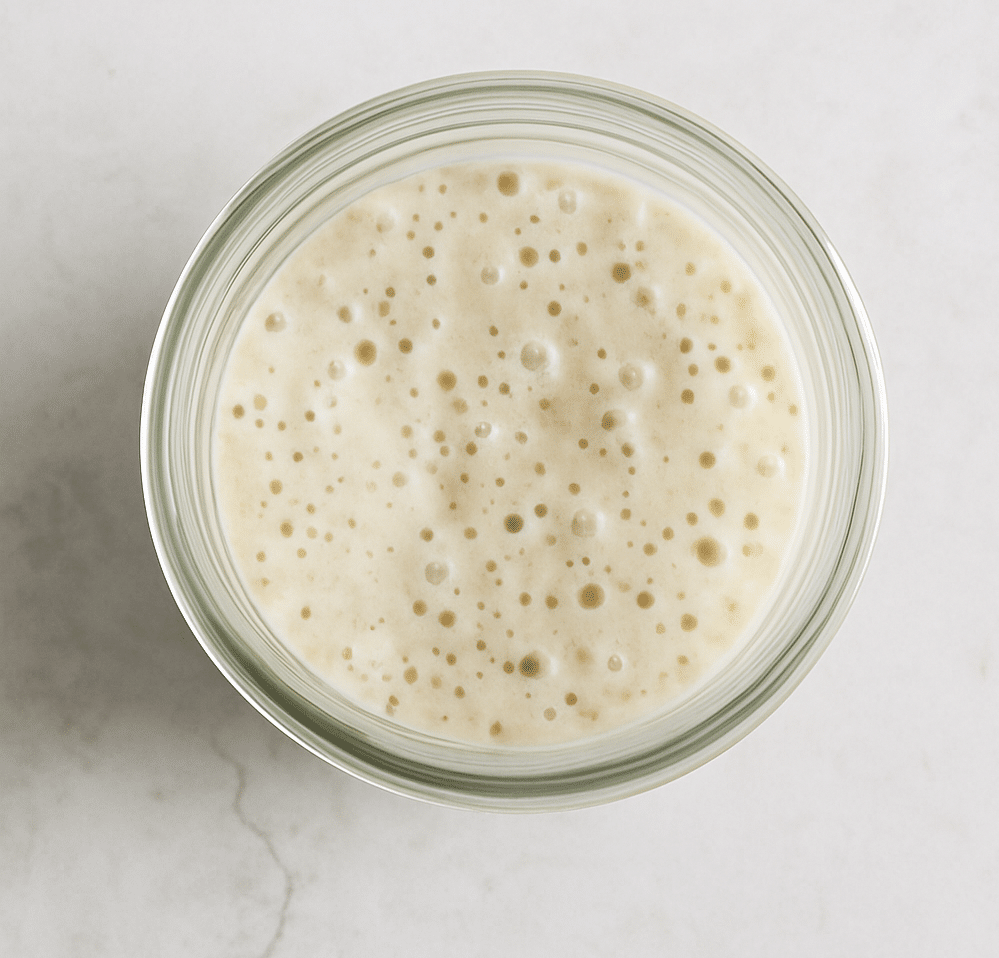
- Bubbles: Are tiny bubbles starting to form? That’s a sign your starter is waking up and fermenting.
- Smell: A tangy, slightly sour aroma means your new best friend is thriving, or it could smell sweet like a banana. No smell yet? Don’t worry—it’s early days.
If nothing seems to be happening, it’s not time to panic. Like anything alive, starters operate on their schedule.
Day 6-Onward
By now, your starter should be bubbly, aromatic, and doubling in size shortly after each feeding. If it’s ready, it’s time for the float test: take a small spoonful of starter and drop it gently into a glass of water. If it floats, congrats—it’s alive and somewhat ready for baking!
If it sinks? No need to toss it out. Just keep feeding daily and give it more time—it’s like cheering on someone at the gym who’s almost there. Not all starters become rock stars overnight, but with patience, they all get there eventually.
Every day, you’re nurturing life in that jar. How cool is that? It’s teamwork in its simplest (and most delicious) form—stay consistent, and this starter will reward you with long-lasting baking joy. Let’s keep going!
Common Pitfalls (and How to Fix Them)
You started your sourdough, followed the directions, played by the rules—and yet, something seems… off. Trust me, you're not alone. Even the most seasoned sourdough bakers have dealt with a sluggish starter or questioned a strange odor or discoloration. But don’t panic—troubleshooting your starter isn't as intimidating as it sounds. Let's tackle the most common hurdles together.
No Bubbles?
A bubbly sourdough starter is like a happy room after a great party: lively and full of activity. But if your jar looks as lifeless as a Monday morning, here’s what might be going on:
- Temperature Trouble
Did you know your starter has a preferred climate? It thrives at temperatures between 70–75°F (21–24°C). If your home is cooler, that yeast might be too sluggish to bubble up. Consider moving it to a warmer spot—on top of your fridge, near a sunny window, or even next to the oven (when it’s off, of course). During colder months, wrap the jar in a towel for insulation. - Flour Choices Matter
Your starter eats for energy, and not all flours pack the same punch. Whole wheat or rye flour is like a power smoothie for yeast, thanks to its richness in nutrition. Try swapping your current flour for one of these, just for a few feedings. - Patience, My Friend
Sometimes it just needs time. In its early days, your starter is still figuring itself out, like a plant rooting into soil. A lack of bubbles doesn’t mean failure—it means it’s gathering steam.
Strange Smells?
All starters have a signature scent, but figuring out what’s “normal” can feel like guessing if expired milk has really gone bad. Let’s decode some aromas:
- Good Odors
A tangy smell is a thumbs-up. It might remind you of sour yogurt, vinegar, or even a fruity wine. This means the good bacteria in your starter are thriving. - Uh-Oh Odors
If your starter smells like rotten eggs, acetone (nail polish remover), or landfill garbage, stop and assess. This can happen when your starter isn’t being fed enough. Discard most of it, feed it with a fresh dose of flour and water, and let it recover. Sometimes starters just get “hangry.” - Grey Liquid or “Hooch”
If you spot a weird greyish liquid on top, don’t worry, it’s not a disaster. That’s called hooch, and it’s your starter’s way of saying, “Feed me!” Stir it in or pour it off, discard, then feed again to revive it.
Mold Alert!
No one likes to see mold in their sourdough—it’s the universal sign of “something went wrong.” Here’s how to identify and prevent it:
- Common Causes
- Contamination: Did a stray spoon or unclean jar sneak its way in? Always use a clean jar and utensils.
- Improper Sealing: If your starter isn’t loosely covered, mold can move in. Keep a breathable lid loosely on top, not airtight seals.
- Prevention is Key
- Rinse your jar well between uses—soap can leave residues that encourage mold.
- Maintain good airflow but keep fruit flies and dust out with proper covers.
- Avoid placing your starter near fruit or veggies, which can carry spores.
If you spot mold, it’s unfortunately time to start over. If you're unsure whether it’s mold or just discoloration, take a look at this mold guide for sourdough starters.
Mastering your sourdough starter is as much about patience as it is about observation. These common pitfalls are part of the growing pains, but with a bit of attention and determination, your starter will be thriving again in no time!
Storing Your Starter
Not planning to bake every day? That’s totally fine—your starter is flexible like that! You’ve got two main storage options, depending on how often you want to bake.
1. Countertop Storage:
- This is great if you’re baking regularly (think at least 3 times a week).
- Keep it at room temperature in a loosely sealed jar.
- Feed it daily to keep it active and happy. Think of it like a pet that thrives on a daily snack!
2. Refrigerator Storage:
- If baking is more of a weekend hobby, the fridge is your friend.
- Simply feed your starter, give it an hour to get bubbly at room temp, and then pop it in the fridge.
- It can rest there for up to a week (or even two) without feeding. Just remember to bring it to room temperature and give it a feeding or two before you bake again.
Pro Tip: Traveling or taking a break from baking? You can even dehydrate a portion of your starter for long-term storage. When you’re ready to bake again, rehydrate and watch it spring back to life.
By properly storing your starter, you ensure it’s always ready for your next baking adventure—whether that’s tomorrow or a month from now. Ready to tackle the next steps? Let’s keep going!
Don’t Fear the Discard
For some, tossing part of the starter during feedings feels… wrong. But trust me, the discard is your friend. It keeps your starter manageable and prevents yeast overload, which can lead to sluggish fermentation. And no, the discard isn’t waste. You can use it for pancakes, crackers, and even savory waffles. It’s like sourdough’s gift that keeps on giving, but only once your starter is strong and established.
Hydration Is Key
Ever heard of baker’s percentages? For starters (pun intended), you’re aiming for a 100% hydration starter, which simply means equal weights of flour and water. Using a digital scale makes this foolproof. Eyeballing it? Possible, but not ideal—like trying to guess how much pasta you’ll need for six people.
Quick hydration rules of thumb:
- Stick to non-chlorinated or filtered water for tastier results.
- Weigh your ingredients instead of winging it—your starter will thank you.
Pro tip: Measuring cups are great for brownies, but for sourdough perfection, grab that scale.
Aroma: Your Cheat Code
Let’s talk about smells. A healthy starter aroma can range from tangy to fruity to even slightly nutty. Off smells (think: rotten eggs or nail polish remover)? These are cues that your starter needs help, usually in the form of consistent feeding. Don’t just go by looks—your nose knows best.
Frequently Asked Questions About Sourdough Starters
Every beginner (and even seasoned bakers) will run into questions when dealing with sourdough starters. It’s totally normal! Whether you're confused about bubbles, timing, or what to do when things smell a bit funky, we’ve got you covered. Here are the answers to some of the most common questions out there.
How Long Does It Take to Make a Sourdough Starter?
Building a sourdough starter can take anywhere from 5 to 15 days. Why so long? You’re cultivating wild yeast and bacteria, which need time to grow and stabilize. Think of it like growing a garden—plants don’t sprout overnight, and starters don’t instantly bubble. Sometimes, depending on temperature and flour type, it might even take up to 30 days! Just be patient and feed it daily.
Why Do I Have to Discard Part of the Starter?
Discarding your starter isn't waste—it’s necessary maintenance. Skipping the process leads to an overfed, overwhelmed starter. Here's why:
- Control Growth: Too much starter without enough food makes it sluggish.
- Improve Flavor: Removing extra helps it maintain the tangy, bubbly goodness.
- Manageable Size: Without discarding, your starter could grow into a countertop monster!
What Should My Starter Smell Like?
A healthy starter usually smells tangy or slightly fruity. If it smells like nail polish remover or rotten eggs? That’s a sign it needs feeding. Trust your nose here—the scent tells a story about how well-fed and happy your little yeasty pet is.
Can I Use Any Flour for My Starter?
Your starter isn’t particularly picky but works better with some types of flour. Whole wheat and rye flour provide more nutrients, making them great for strong, active starters. If you’re sticking with white flour, go for unbleached flour.
Why Isn’t My Starter Rising?
Starters may not rise due to these common culprits:
- Temperature: If your kitchen is cold (below 70°F), the yeast might feel lazy. Move it somewhere warmer.
- Hungry Yeast: Check if you’re feeding it consistently. A “hungry” starter shows fewer bubbles.
- Flour Quality: Switch to whole wheat or rye temporarily—they’re like superfood for yeast.
Can I Bake with My Starter If It Smells Funny?
If the aroma only seems off (not downright wrong), feed it and wait a day. But if it smells truly foul or you see mold, it might be time to start over. Better safe than sorry when it comes to food safety.

Creating and maintaining a sourdough starter can seem a little like embarking on a baking adventure filled with small mysteries. But as you’ve learned, it’s less about perfection and more about consistency and care. Your starter is alive—it’s quirky, sometimes stubborn, but incredibly rewarding when you get it right. Best of all, it connects you to centuries of tradition while adding a personal touch to every loaf you bake.
Keep experimenting, keep learning, and most importantly—enjoy the process!